Sail supports deploying WordPress out of the box, without the need of Git or any other source code management tools. This is great for solo-projects, or simple applications with very small teams.
With larger teams and more complex WordPress applications, you’ll want a more robust workflow, including pull requests, code reviews, etc.
GitHub Actions is one of the best CI/CD tools on the market, and personally my favorite. In this short tutorial, I’ll demonstrate how to use Sail with GitHub Actions to quickly deploy your WordPress applications to the DigitalOcean cloud.
Create a new GitHub repository
Let’s start by creating a new repository on GitHub and cloning it to our new project directory.
$ mkdir project && cd project
$ git clone [email protected]:username/repo.git .
Add a .gitignore file in the root of our project, to make sure things, such as uploads, backups or secrets don’t end up in the repository. Here’s the bare minimum I recommend:
.*
wp-content/uploads
wp-content/upgrade
wp-content/cache
Then add the .gitignore file to the repository and commit our changes:
$ git add .gitignore
$ git commit -m "Adding a .gitignore file"
Create a new Sail project
If you’re new to Sail, it’s a fresh CLI tool I wrote to provision and deploy WordPress to DigitalOcean. It takes a couple of minutes to install via Homebrew on Linux, MacOS and Windows.
In our project directory, start a new Sail application with sail init:
$ sail initThis will provision and deploy a WordPress instance to our DigitalOcean account, as well as pull all the application files from the new production server to our local working copy. We can commit these files to our Git repository:
$ git add .
$ git commit -m "Adding a fresh WordPress application"
Encrypt Sail secrets
Sail stores some secrets about your project in a hidden .sail directory, in the root of your project. You should never commit this directory unencrypted to your Git repository, as it contains SSH keys with root access to the production server, and other sensitive information.
However, we’ll need these secrets for GitHub Actions to deploy our Sail project, so we’ll generate a passphrase and encrypt the entire directory with GPG:
$ tar czf - .sail | gpg -c > .sail.tar.gz.gpgYou’ll be prompted to enter a new passphrase twice. Make sure it’s long and secure. We can then commit the encrypted file to the Git repository, and push all our changes to GitHub.
$ git add .sail.tar.gz.gpg
$ git commit -m "Add Sail secrets"
$ git push
We’ll also need to share the passphrase we used with GitHub, to make sure our Workflow can decrypt our file and read the contents. On the GitHub repository page open the Settings tab, select Secrets from the menu on the left, and then hit the New repository secret button in the right hand corner.

Use SAIL_PASSPHRASE as the secret name, and the passphrase you entered earlier as the value.
Create a GitHub Workflow
Create a new .github/workflows/deploy.yml file in your repository:
$ mkdir -p .github/workflows
$ touch .github/workflows/deploy.yml
Open the file in your favorite code editor, and paste the following contents:
name: deploy

on:
  push:
    branches: [main]

jobs:
  deploy:
    runs-on: ubuntu-latest
    steps:
    - uses: actions/checkout@v2
    - uses: kovshenin/sail-deploy@v1
      with:
        passphrase: ${{ secrets.SAIL_PASSPHRASE }}
        encrypted_filename: '.sail.tar.gz.gpg'
The first line is just the name of the workflow, we’ll call it “deploy.”
The next few lines (the “on” section) determine the branches and actions, on which the workflow is going to run. In our case, we’re going to run this workflow whenever something is pushed to the branch called main.
Next is the jobs section, which describes exactly what to do. In our case, we’re going to run some steps, using the ubuntu-latest GitHub image. The steps themselves reference external reusable actions. The first one, actions/checkout clones the Git repository and does a checkout of the main branch.
The second is a custom action I wrote called sail-deploy, which essentially installs Sail, decrypts and extracts the Sail secrets archive using the provided passphrase, and then runs sail deploy.
Add and commit the file to your Git repository, and push the change to GitHub:
$ git add .github/workflows/deploy.yml
$ git commit -m "Adding the deploy workflow"
$ git push
Testing
To test your deployment, simply make a change to your repository and push it to your main branch. For example, create a new test.php file:
$ echo "<?php echo time();" > test.php
$ git add test.php
$ git commit -m "Testing deploys"
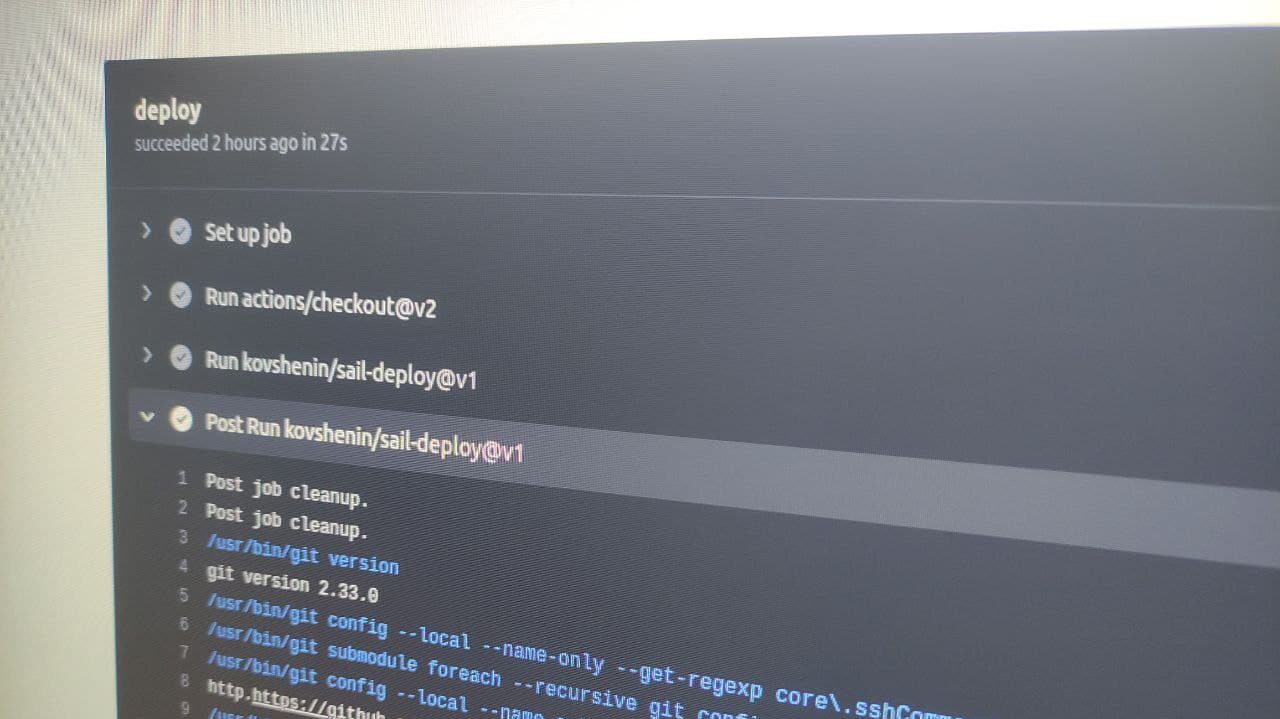
$ git pushThen go to your GitHub repository page, hit the Actions tab and watch the deploy run. When successful, you should be able to visit the test.php page of your site and get a timestamp.

Now, whenever you push changes to the main branch of your GitHub repository, a GitHub Action will use Sail to deploy those changes to your production environment, in an atomic way.
Of course you can continue to use Sail in your local working directory for ad-hoc deploys, quick rollbacks, domain management, backups and more.
If you have trouble setting this up for your project, or have questions or any other feedback, feel free to leave a comment below, or message me on Twitter and I’ll be happy to help you out. If you’re working on an existing project, don’t forget to check out these Sail migration tips on GitHub.
Happy sailing!